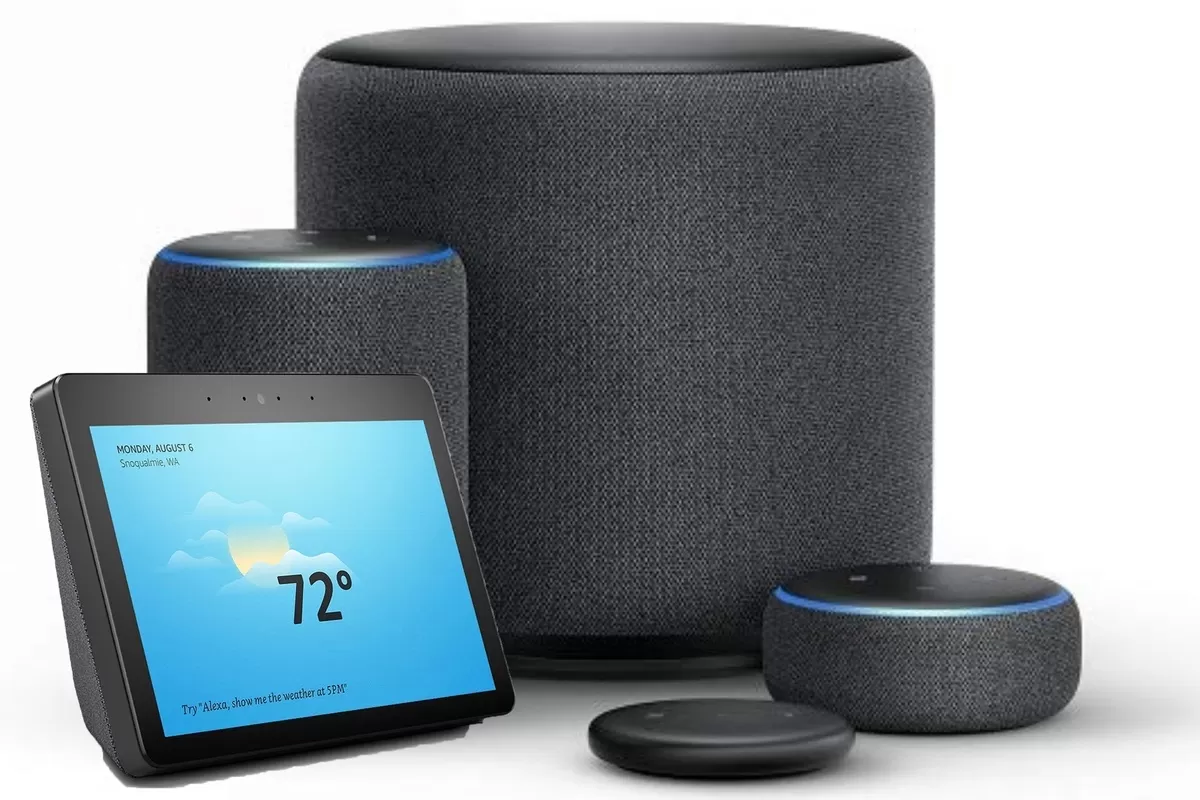
Whether you’re having issues with your Echo smart speaker and want to factory reset it, or maybe you’re giving it away to someone or even selling it. It is actually pretty easily to factory reset your Echo and it only takes a few minutes to do so. Though there are a couple of steps you’ll want to take before you start the resetting process. Here, we will walk you through how to factory reset your Echo device – this goes for all Echo’s, including the Echo, Echo Plus, Echo Dot and more.
The majority of the Echo devices ever launched will work with the reset method below, however, there are a couple of exceptions, which will be noted below. The Echo Show and Echo Spot are not included in this tutorial. Those need a much different reset method, which we will cover separately. This is due to them having screens versus just buttons like you’d find on an Echo smart speaker.
Deregister Your Echo
Firstly, you’ll want to deregister your Echo device from your account. Essentially what this does is it removes all of your content from the device. That includes saved WiFi networks, Alexa skills and more. This information will still be in your account, so if you are going to register the Echo device again, you can do that and not worry about redownloading the information – as it’s instant. But without deregistering the device, a factory reset is pretty useless, unless you are simply having responsiveness issues with the Echo.
To do this, you’ll need to login to your Amazon account (login through Amazon’s website, you can’t do this through the Alexa app yet). Then click on your account name in the upper right-hand corner of the screen. Next click on “Content and Devices”. You’ll want to click on the Devices tab, which will show you every device that you have logged into Amazon on. You can use the search box to search for all your Echo devices, if you have logged into Amazon services on many devices.
This will show devices you’ve logged into for Alexa, Shopping and Prime Video, so you may have a ton of devices listed on your account.
From there, you’ll click on the box to the left of the device that has three dots inside it. This will pop up a few options for you, we want the “Deregister” option. Click on “Deregister” which should be the first option.
Next, it will confirm that you want to deregister the device, and warn you about what’s about to happen. That includes removing all of your content from the device. Just click “Deregister” and you’re all set.
Resetting Your Amazon Echo
Now that you’ve deregistered your device, it’s time to factory reset the Echo. We’ll be using an Echo Dot second generation here, but this works with all Amazon Echo’s as of today.
First off, make sure the device is plugged in.
Next you’ll want to hold the microphone button and volume down buttons at the the same time. You’re going to hold these down together until the ring on the Echo turns orange. This will take about 20 seconds. (Note: For the Amazon Echo Dot 3rd Generation, you only need to press the Action button, and that is to the right of the microphone button. You’ll hold that down for about 25 seconds.)
The light ring will then turn blue once you release the buttons.
Your Echo’s light ring will turn off and then on again. Afterwards it will turn orange once again. This means that your Echo is now in setup mode, and is successfully reset.
Switching WiFi Networks
As a bonus, let’s talk about how to switch the WiFi network on your Echo device. You don’t actually need to do a full factory reset to accomplish this, and that’s great news. Seeing as we do move or switch our ISP’s from time-to-time and may need to change up the WiFi network on different smart home products – which usually require a full reset.
Download and login to the Amazon Alexa app – available on the Google Play Store.
Open the Alexa app, and swipe in from the left side. Tap on Add Device.
Then select “Amazon Echo”.
Choose the Echo device you want to change the WiFi name for.
The setup process will ask if the light ring is orange – which it won’t be. So to remedy this, press and hold the Action button – across from the microphone button – for about 6 seconds until it does turn orange.
You’ll then be directed to connect to your Echo’s WiFi network.
After you return to the Alexa app, you will be able to select the WiFi network that you want to connect too. And once that is done, you are all set.
It’s just that easy to change the WiFi network on your Amazon Echo device. And luckily it doesn’t take an entire factory reset to do so. Which means that you will likely be doing far less factory resets on your Echo device. That’s a good thing, as more factory resets will damage the memory and storage inside the device.
Wrap Up
You won’t need to factory reset your Echo device all that often, but it’s good to know how to do it, for the times you may need to do just that. But if for some reason your Echo device has become unresponsive, it’s good to know that there is a way to fix it, and it’s relatively a simple fix. Before you decide to sell your Echo device, or perhaps give it away to a family member, you’re going to want to make sure you do factory reset it and also deregister it from your account – which is the only way that you’ll be able to fully get rid of all of your content from the device. Since it’ll no longer be attached to your account.
The above methods will work on all Echo speakers, when it comes to the Echo Show and Spot, the method is a bit different, and we will go over that in a later article.


